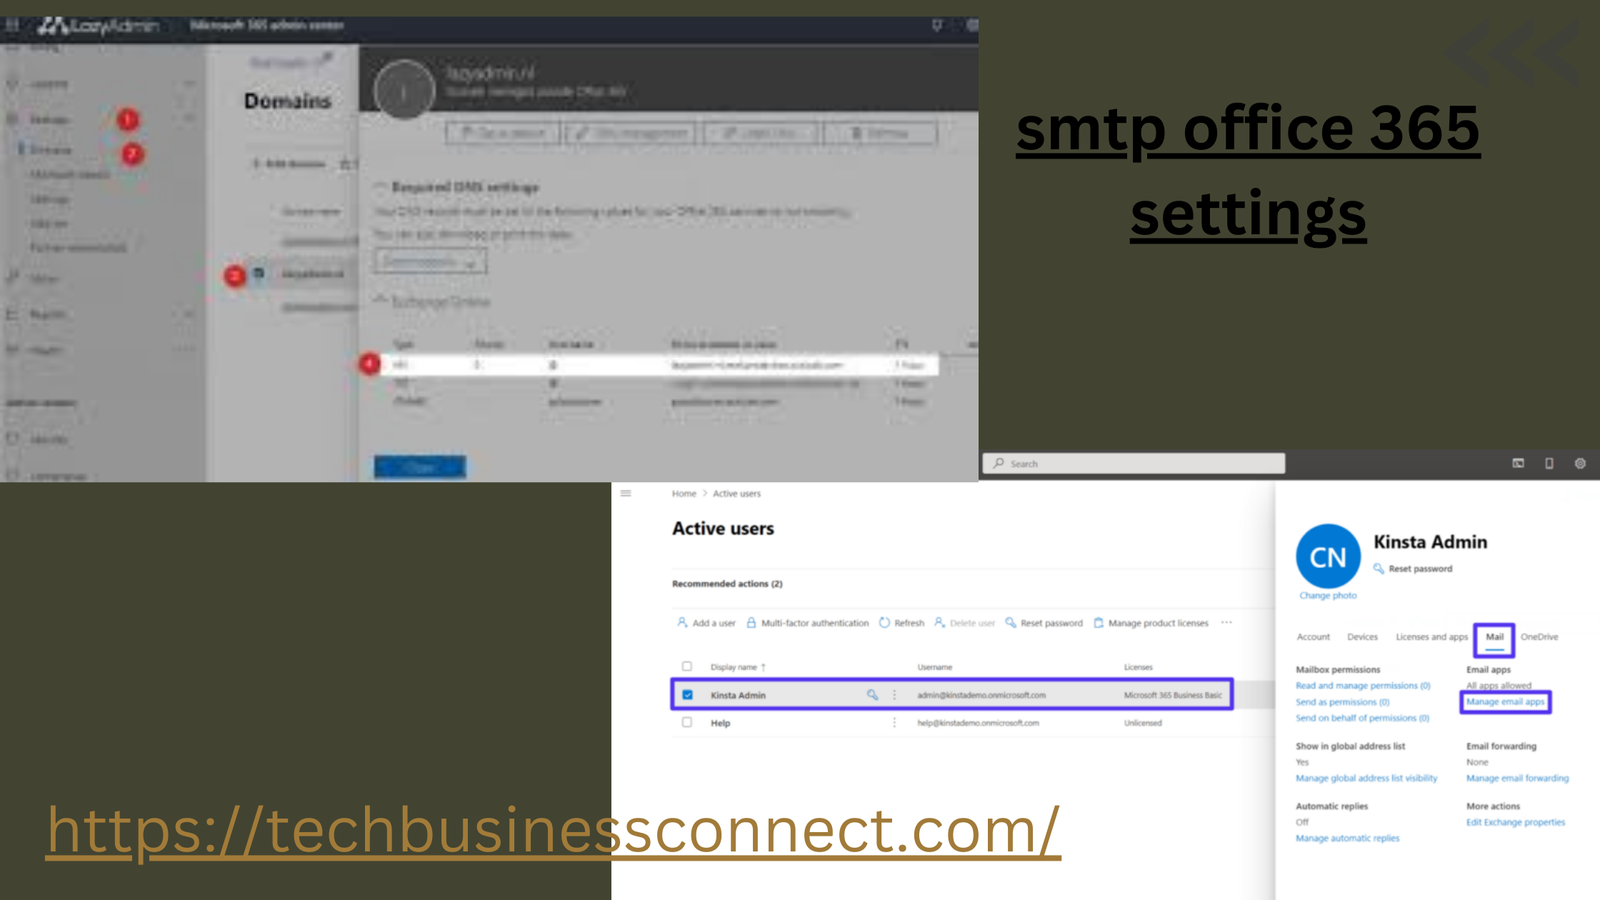
SMTP Office 365 Settings: A Comprehensive Guide
When it comes to business communication, email is the backbone of many organizations. Office 365, now called Microsoft 365, provides a powerful suite of email services and other tools that help streamline communication and collaboration. One important aspect of setting up Microsoft 365 email services is configuring SMTP Office 365 settings. This article will walk you through everything you need to know about these settings and how to configure them.
What is SMTP?
SMTP (Simple Mail Transfer Protocol) is the standard protocol for sending emails across the Internet. It’s used by most email services, including Microsoft 365, to send messages from one server to another. SMTP servers handle outgoing emails and ensure they reach the correct recipient’s server.
When you’re configuring your email client, you’ll need to set up SMTP Office 365 settings to ensure that your outgoing emails are sent successfully through Microsoft’s servers.
Why SMTP Office 365 Settings Matter
Properly configuring SMTP Office 365 settings is crucial for ensuring the reliable delivery of emails. Without the correct configuration, your outgoing emails may not reach the recipient or could end up in their spam folder. For businesses, this could result in missed opportunities, miscommunication, and other critical issues.
Whether you’re using Outlook, Gmail, or another email client, you need to input the correct SMTP Office 365 settings to avoid these problems. These settings can also enable you to send bulk emails, integrate with other applications, and automate processes that rely on email communications.
Key Benefits of Correct SMTP Office 365 Settings
- Reliable Email Delivery: Ensures that your emails reach the correct destination without delays or errors.
- Avoid Spam Issues: Helps prevent your emails from being flagged as spam or junk.
- Enhanced Security: Using Microsoft’s servers provides advanced security features such as encryption and anti-spoofing protection.
- Seamless Integration: You can integrate with third-party applications and systems that require email communication.
How to Configure SMTP Office 365 Settings
Setting up SMTP Office 365 settings is a straightforward process, but it can vary slightly depending on the email client you’re using. Below are the steps and the essential SMTP configuration details you need.
SMTP Office 365 Settings Overview
Here are the main SMTP Office 365 settings you’ll need to configure your email client or application:
- SMTP Server:
smtp.office365.com - SMTP Port:
587 - Encryption Method: TLS (Transport Layer Security)
- SMTP Username: Your full Office 365 email address (e.g., john.doe@yourdomain.com)
- SMTP Password: The password for your Office 365 account
- SMTP Authentication: Yes (required)
Step-by-Step Guide to Setting Up SMTP Office 365 Settings
Step 1: Open Your Email Client
The first step in configuring your SMTP Office 365 settings is to open your preferred email client. For the purpose of this guide, we will use Outlook as an example. However, the process is similar across most email clients, including Gmail, Thunderbird, and Apple Mail.
Step 2: Access Account Settings
In Outlook, go to File > Account Settings > Manage Profiles. From here, you’ll select the email account you want to configure and click on Change or Edit settings.
Step 3: Enter SMTP Office 365 Settings
You will now need to manually enter the SMTP Office 365 settings. Ensure the following values are input correctly:
- SMTP Server: smtp.office365.com
- Port: 587
- Encryption: TLS
- Authentication: Use the same settings as your incoming mail server
Step 4: Save and Test Settings
Once you’ve entered the correct SMTP Office 365 settings, save the configuration. Most email clients allow you to test the connection to ensure everything is set up properly. Send a test email to confirm that your outgoing mail is working as expected.
Additional SMTP Settings for Microsoft 365
While the basic settings above will cover most use cases, there are some additional configurations you might need depending on your specific environment or requirements. For instance, if you’re using an application to send emails, or if you’re dealing with high-volume mail sends, these advanced SMTP Office 365 settings will come in handy.
- Using SMTP with a Multifunction Device or Application
If you’re using a printer, scanner, or third-party application to send email, you can still use SMTP Office 365 settings. However, you might want to set up a dedicated user account for the device or application. Here’s how:
- SMTP Server: smtp.office365.com
- Port: 587
- Encryption: TLS
- Authentication: Yes
- SMTP Username: Dedicated email account for the device or app
- SMTP Password: The password for the dedicated email account
- Sending Bulk Emails
If your organization sends bulk emails, whether for marketing purposes or internal communication, it’s important to manage the volume correctly. Microsoft 365 does have limits on the number of emails you can send per day, and exceeding these limits could result in temporary blocks.
For bulk email, ensure your SMTP Office 365 settings are optimized, and consider using a third-party tool to manage your email campaigns. Tools like SendGrid or Mailchimp integrate well with SMTP Office 365 settings and help you manage high-volume email sends.
Troubleshooting Common Issues with SMTP Office 365 Settings
Sometimes, even after entering the correct SMTP Office 365 settings, you may encounter issues. Below are some common problems and solutions:
Issue 1: Unable to Send Emails
This is one of the most frequent issues users encounter. If you’re unable to send emails after configuring the SMTP Office 365 settings, ensure the following:
- You have the correct SMTP server (
smtp.office365.com). - You’re using the correct port (
587). - TLS encryption is enabled.
- SMTP authentication is enabled, and your login credentials are correct.
Issue 2: Emails Going to Spam or Junk
If your emails are being flagged as spam, ensure that your domain’s DNS records are configured correctly, including SPF, DKIM, and DMARC. These protocols help verify that your emails are legitimate and reduce the chances of them being marked as spam.
Issue 3: SMTP Authentication Errors
If you’re getting authentication errors, double-check your credentials. Ensure that you’re using your full Office 365 email address and the correct password. Also, make sure two-factor authentication (2FA) is configured correctly, if applicable.
Best Practices for Using SMTP Office 365 Settings
- Enable Secure Connections: Always use TLS encryption when configuring SMTP Office 365 settings to protect your email data during transmission.
- Use a Dedicated Email Account for Applications: If you’re using an app or device to send emails, create a separate account to avoid complications.
- Monitor Email Sending Limits: Be aware of Microsoft’s email sending limits to avoid disruptions.
- Update Credentials Regularly: Ensure your SMTP credentials are up-to-date and secure to avoid authentication issues.
Conclusion
Configuring SMTP Office 365 settings is essential for ensuring smooth and secure email communications. By following the steps and tips outlined in this guide, you can optimize your email setup for reliable performance and security. Whether you’re sending emails through Outlook, Gmail, or a third-party application, having the right SMTP settings will ensure that your messages are delivered without any issues.
Remember, setting up SMTP Office 365 settings is more than just entering a few numbers and servers. It’s about ensuring that your email communications are secure, reliable, and scalable for the needs of your business. If you encounter any issues, use the troubleshooting tips provided or consult Microsoft’s support for more help.
By implementing the correct SMTP Office 365 settings, you’ll be able to maintain a robust email communication system that can scale with your business needs.


